Let's build a multiplayer Fallout 4 map using RxJS!

We've done Pip-Boy discovery and relay and created new libraries. Now let's put them to good use. The first half of this tutorial does not require having a copy of Fallout 4 because we'll start by simulating data.
Things we'll cover:
- Simulating data
- Observables and RxJS
- Bundling code for the browser via
browserifyandbabel - Drawing on canvas

Tools required
You need node 5+ and npm 3 to follow this tutorial. If you're gripping tightly to an older node version, try out nvm or n for all your node environment switching needs.
Generating Random Players
Set up a new project for this, by creating a new directory, changing to that
directory, and running npm init. You can accept the defaults if you like, or
mix it up.
mkdir multi-pip-fun
cd multi-pip-fun
npm init
We're making a map of players, so let's start by generating some random players. We're going to get the list of player names that codsworth can speak from.
For this tutorial, I'll use the package clean-codsworth-names. You can install
it too:
npm install --save clean-codsworth-namesYou can also use the raw list, which has plenty of words to make the juvenile in us giggle.
npm install --save codsworth-namesNow, create fakes.js, setting up new players and where they are on the map.
const codsworthNames = require("clean-codsworth-names");
const mapSize = 2048;

// newPlayer creates a new player with a name
// and some random coordinates
function newPlayer(name) {
  return {
    name: name,
    x: Math.round(Math.random() * (mapSize - 1)),
    y: Math.round(Math.random() * (mapSize - 1)),
  };
}

// create a set of players with coordinates
const players = codsworthNames.map(newPlayer);

// Just to try this out, print out a few of these
console.log(players.slice(0, 4));
$ node fakes.js
[ { name: 'Aaliyah', x: 533, y: 81 },
{ name: 'Aaron', x: 612, y: 1091 },
{ name: 'Abigail', x: 422, y: 1918 },
{ name: 'Abram', x: 210, y: 541 } ]Give each of these players a unique ID and provide
an adjective for their name (for example, Crazy Dave) by relying on
two more packages: uuid (for unique IDs) and adjectives (like it says on the tin)
npm install --save uuid adjectivesNow we'll require these libraries and modify newPlayer:
const uuid = require("uuid");
const adjectives = require("adjectives");

// Upper case the names
const Adjectives = adjectives.map((adj) => {
  return (
    adj.charAt(0).toUpperCase() + adj.slice(1)
  );
});

// Simple grabber of a random element from an array
const choice = (arr) =>
  arr[Math.floor(Math.random() * arr.length)];

function newPlayer(name) {
  const adj = choice(Adjectives);

  return {
    name: `${adj} ${name}`,
    id: uuid.v4(),
    x: Math.round(Math.random() * (mapSize - 1)),
    y: Math.round(Math.random() * (mapSize - 1)),
  };
}
We've got some interesting characters already
$ node fakes.js
[ { name: 'Exultant Aaliyah', x: 113, y: 403 },
  { name: 'Responsible Aaron', x: 1840, y: 1228 },
  { name: 'Impartial Abigail', x: 704, y: 1093 },
  { name: 'Small Abram', x: 223, y: 1163 } ]
Go on a random walk
How can we simulate players moving?
By taking them on a random walk. On each iteration of the simulation, we'll add 1, 0, or -1 to the player's x and y positions.

There are a few ways to do this and we'll rely on some mathematical properties to make this fast.
We can randomly acquire 0 and 1 by using Math.round(Math.random()). To get -1,
use the mathematical property that cos(π) = -1 and cos(0) = 1. Multiply
that by Math.round(Math.random()) and we have a nice little formula for generating
-1, 0, and 1.
const change =
  Math.cos(Math.PI * Math.round(Math.random())) * // -1 or 1
  Math.round(Math.random()); // 0 or 1
Now we just have to apply it to a given point
// Random walk -1, 0, 1
function walk(pt) {
  const change =
    // -1 or 1
    Math.cos(Math.PI * Math.round(Math.random())) *
    Math.round(Math.random()); // 0 or 1
  const newPt = pt + change;
  if (newPt < 0 || newPt >= mapSize) {
    return pt;
  }
  return newPt;
}
Try it out on one of the characters by appending this to the end of fakes.js:
const player = players[0];
console.log(player);
player.x = walk(player.x);
player.y = walk(player.y);
console.log(player);
$ node fakes.js
{ name: 'Mountainous Aaliyah', x: 312, y: 1506 }
{ name: 'Mountainous Aaliyah', x: 311, y: 1506 }Keep those players moving!
To generate a continuous stream of player data, we're going to create and learn about Observables through RxJS.
npm install --save @reactivex/rxjsDown the observable rabbit hole
If you've worked with JavaScript in the front end (or the back end for that matter), you've gotten used to these core Objects:
| Single return value | Multiple return values | |
|---|---|---|
| Pull / Synchronous Interactive |
Object | Iterables like Array, Set, Map, Object |
| Push / Asynchronous Reactive |
Promise | ???? |
One of my favorite additions to JavaScript is the Promise. It makes a lot of
asynchronous code really clean, especially with Promise chains.
fetch("/players.json")
  .then((resp) => response.json())
  .then(action)
  .catch(whoa);
What about cases where we want a promise to yield multiple values? Do we wait
for all the values to get computed, relying on Promise.all()? Not if we want
the intermediate values. In the end we'd have to fall back on createEvent/EventEmitter.
On top of that, we usually want to perform filtering and routing based on those
messages for separate consumers of the data. What we really need is a stream
of messages that we can operate on like an Array, similar to how we
created new players:
const players = codsworthNames.map(newPlayer)There just has to be something to fill that missing piece of the table. Turns out,
there's one more data type to come to a JavaScript near you: Observable
| Single return value | Multiple return values | |
|---|---|---|
| Pull / Synchronous Interactive |
Object | Iterables like Array, Set, Map, Object |
| Push / Asynchronous Reactive |
Promise | Observable |
Observables are asynchronous data streams, from the future.
Technically, this pattern has been around for a while. People have been using Observables in Ruby, across languages through Reactive Extensions, libraries like Bacon, and many more. Where it really shines in Javascript is with RxJS.
Both node's EventEmitter and RxJS's Observable are implementations of the Observer design pattern. The one big difference you'll see is how you can operate on Observables like core primitives. While working on pipboylib, several contributors highlighted how wonderful it would be if our interface was based on RxJS.
Here's an example of what it looks like to get the player position continuously:
pipboydb
  .map((x) => x.Map.World.Player)
  .map((x) => ({
    x: x.X,
    y: x.Y,
    deg: x.Rotation,
  }))
  .distinctUntilChanged()
  .subscribe((x) => {
    console.log("Player Position:", x);
  });
As the game updates, we see the change come into our subscription callback and display our position over time. You can even use this to write out your localmap.

In pipboy we use this to display your local map continuously like some sort of crazy sonar.

Let's learn more about Observables so you can do real-time apps like this too.
Learn some Rx
Let's learn how to work with Observables. Pop open a
node terminal and require('rx'):
> var Rx = require('rx')Start with a simple Observable that emits a new value on each interval.
> var obs = Rx.Observable.interval(10)To subscribe to the event stream from this Observable, we use subscribe.
To make sure that we don't get overwhelmed with the stream, we'll chain with the
take operator, making our resulting subscription only get a few values.
> var o = obs.take(4).subscribe(console.log)
0
1
2
3
We can operate on this stream, too, mapping the values. This interval Observable
is giving us an incrementing counter over time. Let's map the values
to something new that we'll subscribe to.
> o = obs.map(x => x*10)
         .take(4)
         .subscribe(console.log)
0
10
20
30
Since we use take, the stream completes after 4 elements are emitted, which
allows us to perform a reduction:
> var o = (
  obs.take(4)
     .reduce((x,y) => x + y, 0)
    .subscribe(console.log)
  )
6
> // Result comes from 0 + 1 + 2 + 3
How could we operate on an infinite stream? For this, Rx provides the scan
operator to emit intermediates.
> var o = (
  obs.scan((x,y) => x + y, 0)
     .take(4)
     .subscribe(console.log)
  )
0
1
3
6
This is enough tooling for us to start generating simulated player data. We'll also use this to great effect when aggregating multiplayer data. For a more thorough introduction to Reactive Programming, check out the Introduction to RP you've been missing.
Generate player data with RxJS
Let's start by creating a single live player who updates themselves on
an interval. Add this to fakes.js:
function livePlayer(player, period) {
  if (!player) {
    throw new Error("need a player");
  }
  if (!period) {
    period = 500;
  }
  return Rx.Observable.interval(period).scan(
    (p) => {
      return {
        name: p.name,
        id: p.id,
        x: walk(p.x),
        y: walk(p.y),
      };
    },
    player
  );
}
To create this for all the players, we'll use the merge operator to bring
lots of live players together. merge takes N many Observables and combines
them into one Observable stream.
// create a set of players with coordinates
const defaultPlayers =
  codsworthNames.map(newPlayer);

function livePlayers(players, period) {
  if (!players) {
    players = defaultPlayers;
  }
  if (!period) {
    period = 500;
  }

  return Rx.Observable.merge(
    ...players.map((p) => livePlayer(p, period))
  );
}
Let's export this function for use by node. Try this out by appending this to the bottom of fakes.js:
livePlayers(players)
  .take(4)
  .subscribe((x) => console.log(x));
Then, run fakes.js to get output like the following:
{ name: 'Robust Aaliyah',
  id: 'dbfb8fdc-6930-4c59-a849-144f47a5fd93',
  x: 900,
  y: 1198 }
{ name: 'Alleged Aaron',
  id: '8bb2734c-8699-493a-bf57-fecf1a135077',
  x: 1648,
  y: 484 }
{ name: 'Tremendous Abigail',
  id: '749744d2-5e8e-4737-bd57-2aef0c1dae23',
  x: 829,
  y: 450 }
{ name: 'Womanly Abram',
  id: '7e6b1614-efc9-4549-8673-4ddc0ea62531',
  x: 920,
  y: 131 }
Now our players are being generated. It's time to put them on the screen.

To convert our command line scripts to something we can put up on the
web for everyone, we're going to use a bundler called browserify to package
all the JavaScript goodness into one file, and then ensure that all of the
JavaScript works on all the various browsers by using babel via babelify.
npm install --save-dev browserify babelify babel-preset-es2015In your package.json, add build to your scripts section and create a
babel section:
"scripts": {
  "build": "browserify index.js -t babelify -o bundle.js"
},
"babel": { "presets": ["es2015"] },
Next, write an index.html:
<html>
  <head>
    <meta charset="utf-8" />
  </head>
  <body>
    <script
      type="text/javascript"
      src="bundle.js"
      charset="utf-8"
    ></script>
  </body>
</html>
This sets up loading the bundle within the main page. For the index.js file, start with something fairly simple:
const fakes = require("./fakes");

fakes
  .livePlayers()
  .take(1)
  .subscribe((player) => {
    console.log(player);
    document.write(JSON.stringify(player));
  });
Now run npm run build. That should build your sources. To see your work in action,
open up index.html in the browser. You should see a generated player.
{
  "name": "Robust Aaliyah",
  "id": "dbfb8fdc-6930-4c59-a849-144f47a5fd93",
  "x": 900,
  "y": 1198
}
Great! Now let's build that map.
Build the map
The steps, roughly:
- Create a canvas
- Paint a background image
- Plot our points
Create a canvas
We're going to start small and simply put the canvas right in the index.html file.
<html>
  <head>
    <meta charset="utf-8" />
  </head>
  <body>
    <canvas id="map" width="2048" height="2048" />
    <script
      type="text/javascript"
      src="bundle.js"
      charset="utf-8"
    ></script>
  </body>
</html>
Paint an image onto the canvas
Let's create a file called mapping.js. We'll start it off by drawing an image
onto a provided canvas:
const MAP_SIZE = 2048;

function paint(canvas, image, players) {
  const ctx = canvas.getContext("2d");
  ctx.save();

  if (image) {
    ctx.globalCompositeOperation = "source-over";
    ctx.drawImage(image, 0, 0);
  } else {
    ctx.clearRect(0, 0, MAP_SIZE, MAP_SIZE);
  }

  // Note: we're not painting players yet

  ctx.restore();
}

module.exports = {
  paint,
};
Now call paint to display our image:
const fakes = require("./fakes");
const paint = require("./mapping").paint;
const mapCanvas = document.getElementById("map");
var image;
const imageEl = new Image();
imageEl.src = "CompanionWorldMap.png";
imageEl.onload = () => {
image = imageEl;
paint(mapCanvas, image);
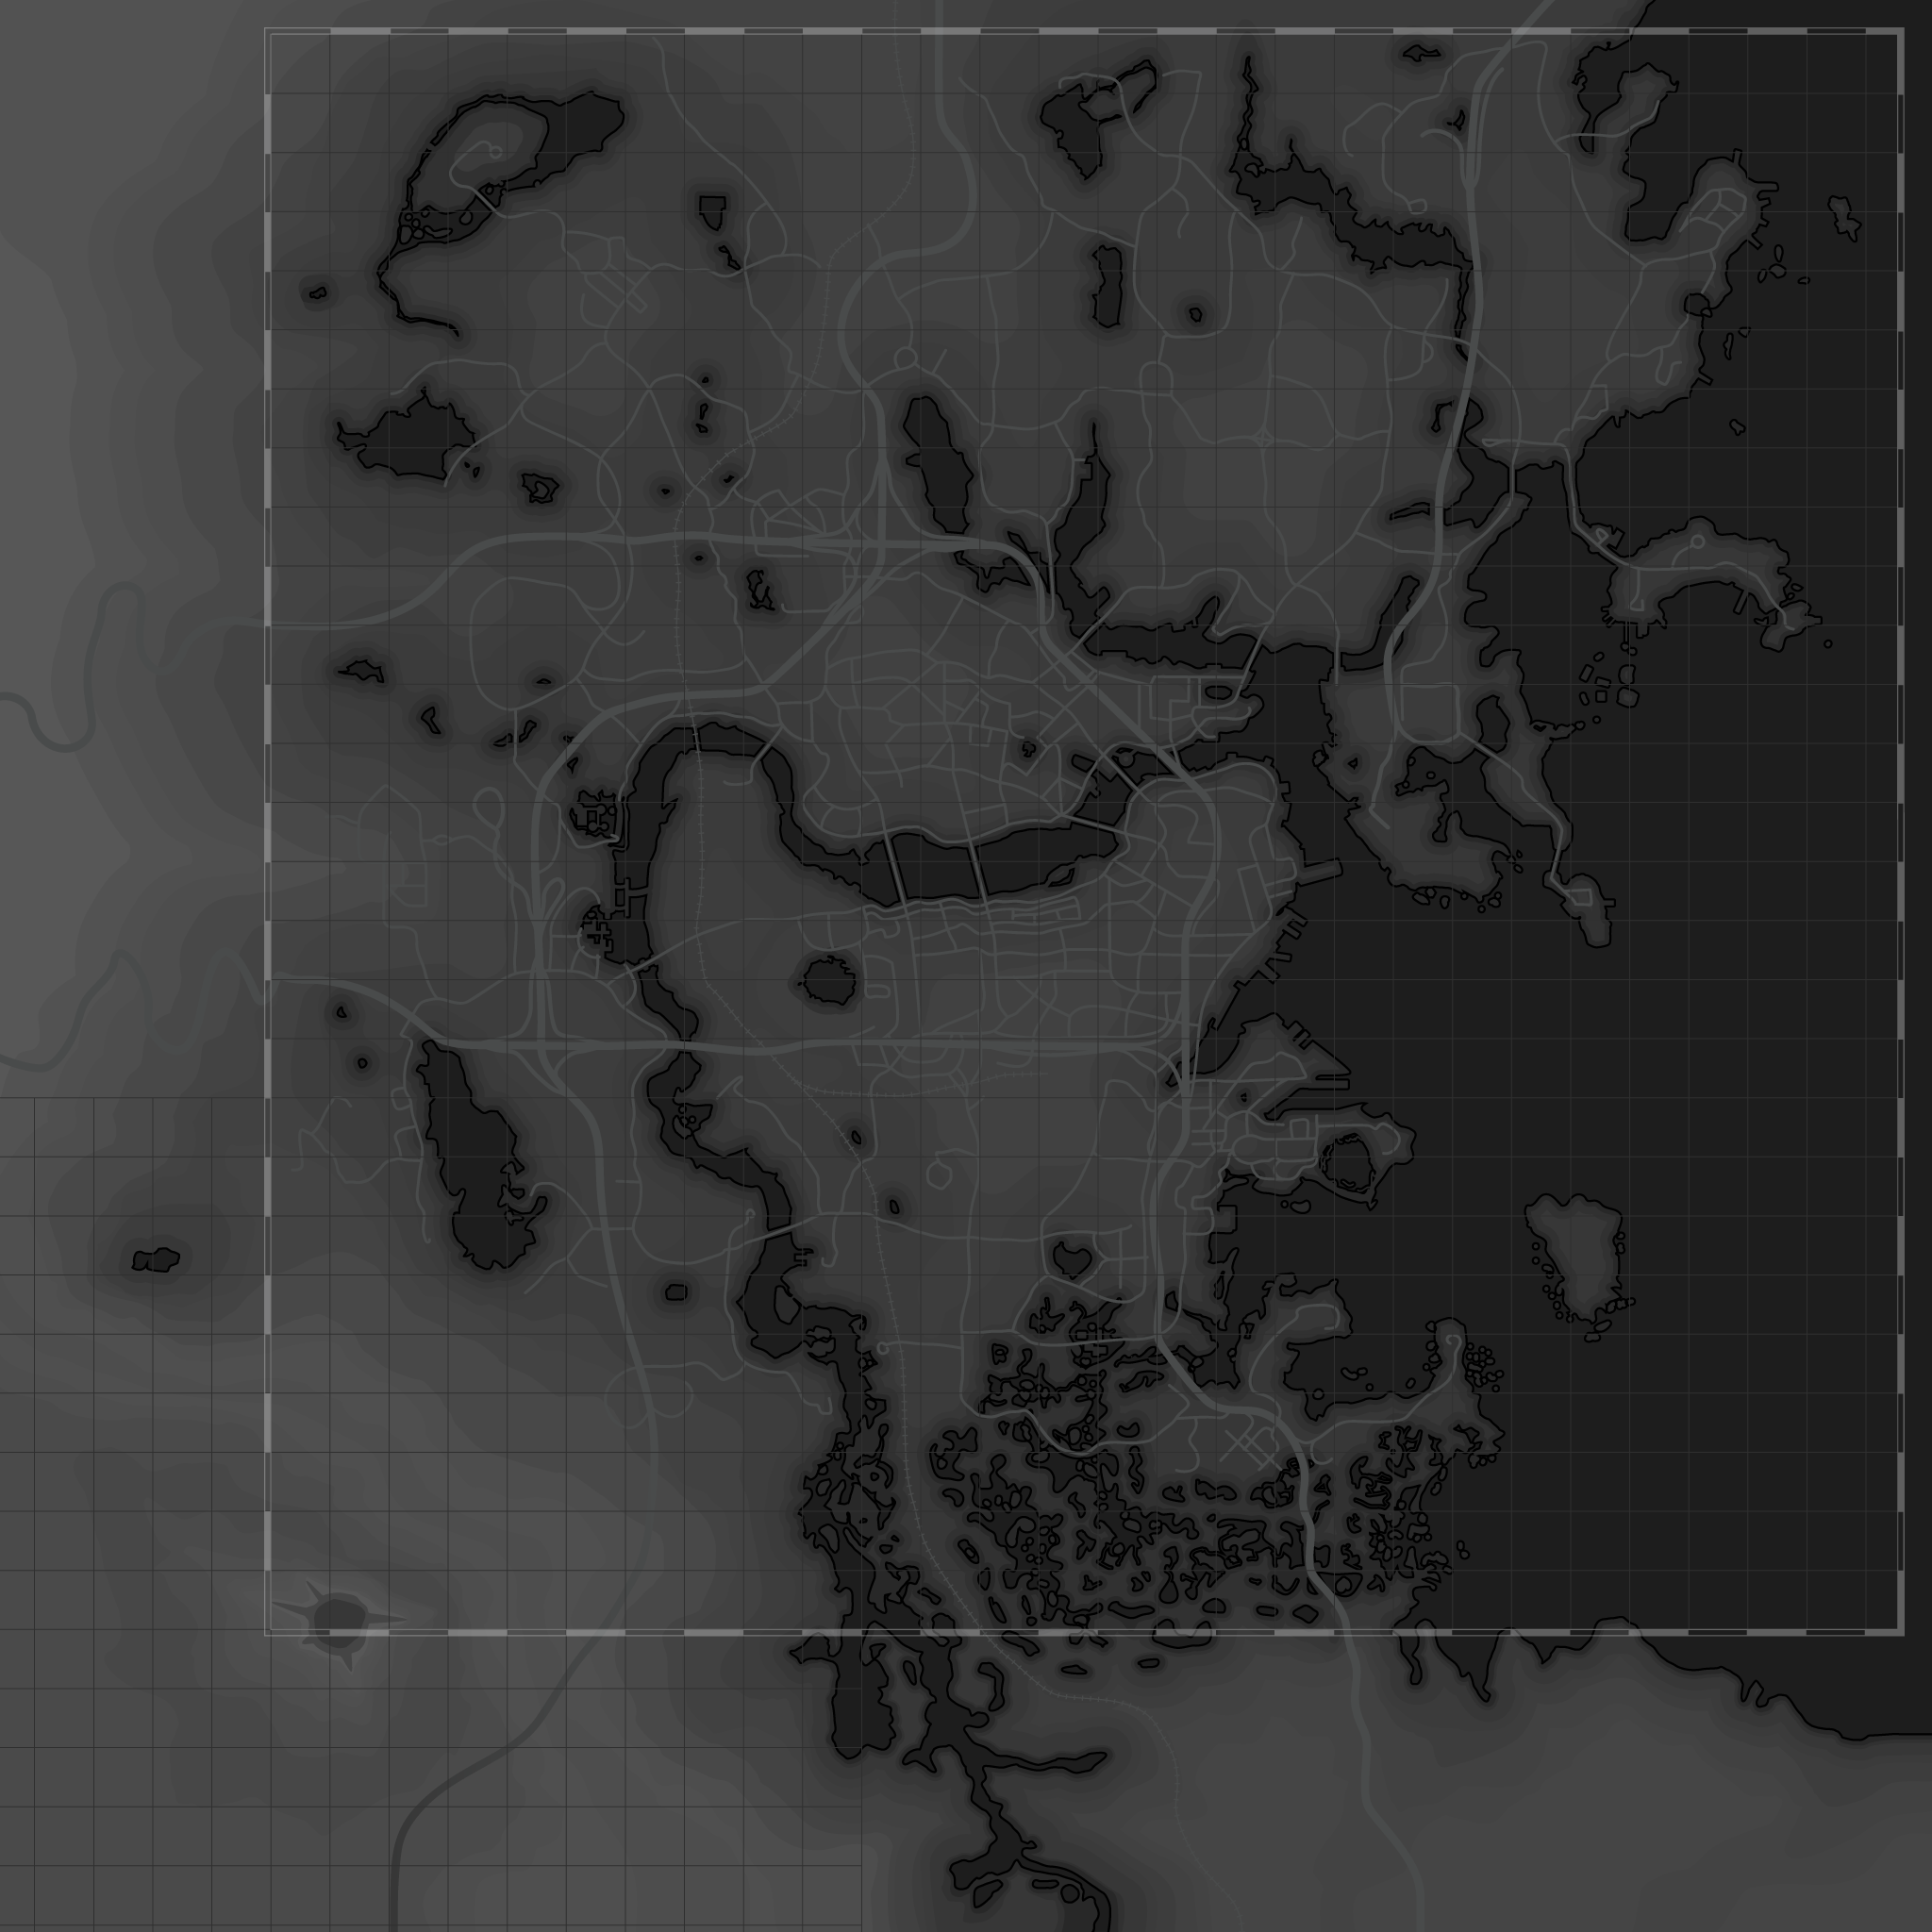
};We'll need the world map for loading, so download the companion world map to your workspace.
Run npm run build again and open index.html again. You'll see that friendly
commonwealth.
Now take all that player data and show it on screen. Within index.js,
after the setup for the image let's start taking that fake player data.
fakes
  .livePlayers(fakes.defaultPlayers, 10)
  .scan((players, player) => {
    // collect the latest data for each player
    return players.set(player.id, player);
  }, new Map())
  // To render at approximately 60fps, we need to
  // throttle by ~16.66667 ms
  // 1 second = 1000 ms
  //   => 1000/60 = 16.6667 ms between frames
  .throttleTime(17)
  .subscribe((players) => {
    paint(mapCanvas, image, players);
  });
Now, the only thing we have to add to our mapping.js is plotting those players
function paint(canvas, image, players) {
  const ctx = canvas.getContext("2d");
  ctx.save();

  if (image) {
    ctx.drawImage(image, 0, 0);
  } else {
    ctx.clearRect(0, 0, MAP_SIZE, MAP_SIZE);
  }

  // Each player gets plotted with a unique color
  for (var player of players.values()) {
    ctx.fillStyle = "#" + player.id.slice(0, 6);
    ctx.fillRect(player.x, player.y, 2, 2);
  }
  ctx.restore();
}
There you have it, a live updating map!
Be friendly with the browser render cycle
Browsers provide a global function called requestAnimationFrame that lets you
call a function to update an animation before the next browser repaint. We need
to rely on this to trigger the actual call to paint.
fakes
  .livePlayers(fakes.defaultPlayers, 10)
  .scan((players, player) => {
    // collect the latest data for each player
    return players.set(player.id, player);
  }, new Map())
  // We can lower our throttle since we're using rAF
  .throttleTime(10)
  .subscribe((players) => {
    window.requestAnimationFrame(
      paint.bind(null, mapCanvas, image, players)
    );
  });
Summary
We've learned how to simulate data through the use of RxJS Observables, rely on
browserify, babel, and npm to package our app, and draw points on a canvas.
If you liked this, let me know if you want to learn how to build the full
multiplayer map.